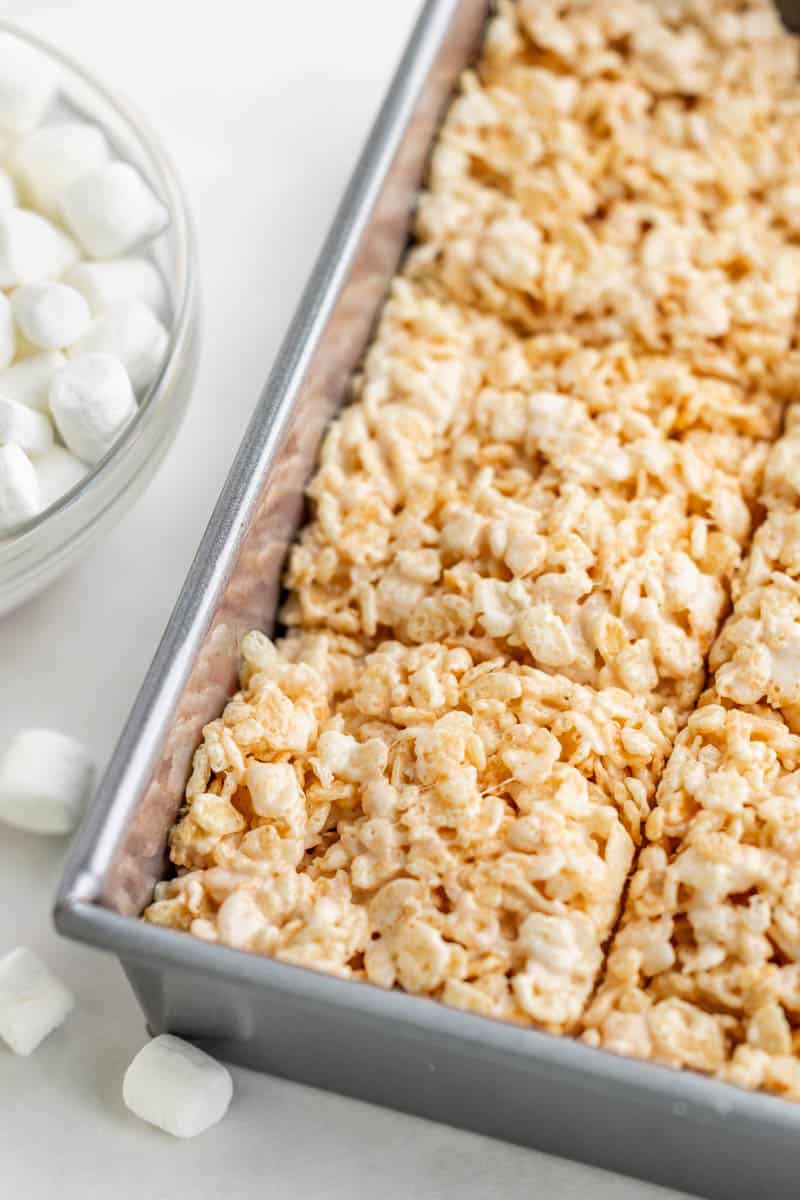
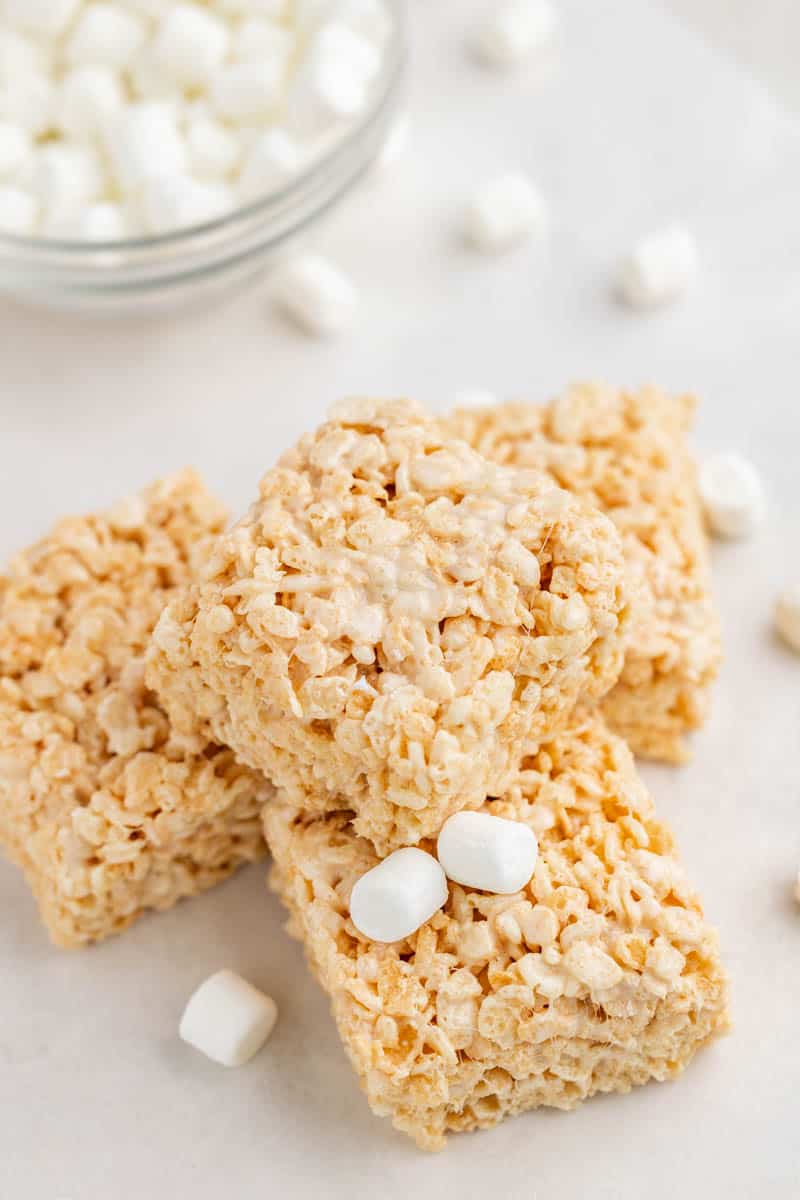
Elevate your dessert game with browned butter Rice Krispie treats—a delightful twist on a timeless favorite!
The sweet and crispy allure of Rice Krispie treats has always been hard to resist. Yet, when enhanced with the deep, toasted aroma of browned butter, this childhood favorite transforms into a luxurious treat. The combination of toasted butter with crunchy Rice Krispies creates a symphony of flavors that’s both nostalgic and refreshingly gourmet. It’s a perfect dessert for those moments when you want something simple but with a special touch.
Frequently Asked Questions
Browning the butter gives it a nutty, rich aroma and flavor, enhancing the overall taste of the treat.
Absolutely! If possible, chop or tear into smaller pieces for easier melting.
Overcooking the marshmallow mixture can result in harder treats. It’s crucial to melt it over low heat and avoid over-stirring.
Browning Butter
Browning butter is an art of observation and precision, where the butter progresses through various stages of color and aroma. Here’s a guide to help you understand these levels:
- Melted Butter:
- Color: Clear, golden liquid.
- Aroma: Creamy and mild.
- Foaming Butter:
- Color: Still predominantly clear and golden, but it begins to foam due to water in the butter evaporating.
- Aroma: Still quite mild, with just a hint of richness.
- Lightly Browned Butter:
- Color: A pale tan with very small, lightly golden specks beginning to appear at the bottom—these are the milk solids.
- Aroma: A faint nuttiness starts to emerge, becoming more pronounced as the butter continues to cook.
- Perfectly Browned Butter:
- Color: A deeper golden-brown hue with more visible and darker brown specks throughout. The liquid portion takes on a toasted, amber appearance.
- Aroma: Distinctly nutty and reminiscent of hazelnuts, this aroma is robust and mouthwatering.
- Deeply Browned Butter:
- Color: A rich, dark brown, almost like a caramel or toffee. The specks become even darker, nearing a chocolate brown.
- Aroma: Intensely nutty and rich, with an almost roasted scent.
- Burnt Butter:
- Color: Dark, murky brown or black, with the specks turning black and the liquid portion appearing cloudy.
- Aroma: Bitter and acrid, losing its pleasant nutty profile.
It’s essential to remain attentive when browning butter. The transition from one stage to another can be swift, especially between the perfectly browned and burnt stages. Using a light-colored pan can help you better judge the butter’s color, and relying on both visual cues and the emerging aromas will guide you to your desired level of browning.
Substitutions
- Butter: You can use refined coconut oil, ghee, or a plant-based butter substitute.
- Rice Krispie cereal: Try using other puffed cereals or cornflakes.
Troubleshooting
- Treats Not Setting? Ensure your marshmallow mixture isn’t overcooked, and always allow enough cooling time.
- Too Sticky? A little extra dusting of powdered rice krispie cereal can help reduce stickiness.
Tips From the Chef
- Make sure to constantly stir the marshmallows when melting to prevent sticking or burning.
- The browning of butter requires focused attention; ensure the heat is medium and watch for the color change.
Storage & Freezing Instructions
Store your Rice Krispie treats in an airtight container at room temperature for up to 3 days for optimal freshness. If you need to keep them longer, refrigerate for up to a week. For freezing, place them in a single layer in a freezer-safe bag or container for up to 2 months. When ready to eat, let them thaw at room temperature, and if desired, give them a few seconds in the microwave to bring back some of their original softness.


0 Comments